Cycling is a wonderful way to enjoy the outdoors, stay active, and reduce your carbon footprint. However, there are times when you might need to integrate biking with other modes of transportation, especially when covering longer distances. Public buses can be an excellent complement to your cycling journey, allowing you to cover more ground and explore new areas. If you've ever wondered about the intricacies of mounting a bike on a bus, this comprehensive guide will equip you with the knowledge and confidence to navigate this process seamlessly.
Challenges of Mounting a Bike on a Bus
Insecurity: Among the primary concerns of taking your bike on a bus is the fear of securely attaching your bike to the rack provided by the bus. The idea of your bike becoming unstable during transit is worrisome, not just for your bike's safety but also for the safety of other passengers.
Lack of Knowledge: For many cyclists, the process of mounting a bike on a bus rack might be unfamiliar territory. The lack of knowledge about how to properly do it can result in confusion and reluctance to take advantage of this combined transportation option.
Efficiency: Without proper guidance, the process of mounting a bike on a bus rack can be time-consuming. Especially when trying to catch a bus on a tight schedule, knowing the most efficient way to load your bike is crucial.
Detailed Step-by-Step Guide to Mounting a Bike on a Bus
Let's delve into the comprehensive steps that will help you confidently and efficiently mount your bike on a bus:
Step 1: Familiarize Yourself with Bus Regulations
Before you even plan to take your bike on a bus, it's essential to familiarize yourself with the regulations of the transit agency operating in your area. Different cities and regions might have specific rules and guidelines for transporting bikes on buses. Research these regulations online or contact the transit agency to get accurate and up-to-date information.
Step 2: Ensure Your Bike Is in Good Condition
Before embarking on your journey, give your bike a thorough check-up. Make sure the tires are properly inflated, the brakes are working, and the gears are shifting smoothly. This will not only ensure a safe and comfortable ride but also prevent any unexpected issues while your bike is loaded onto the bus.

Step 3: Position Yourself at the Bike Loading Area
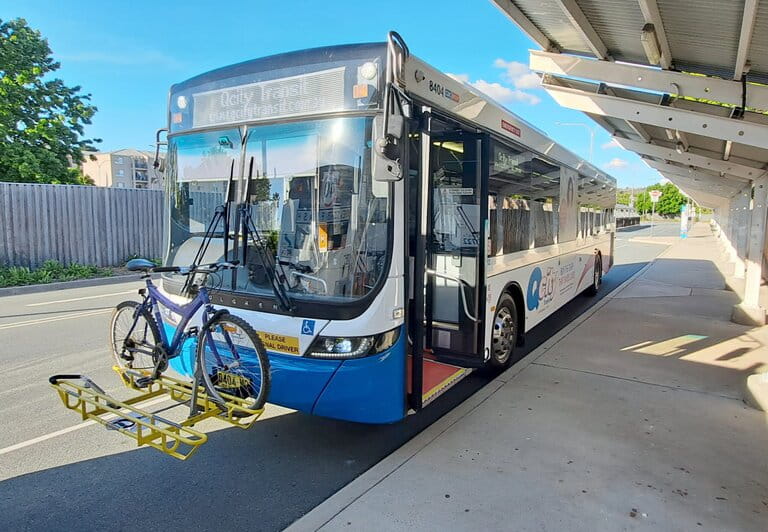
When the bus arrives, move to the designated bike loading area, which is usually located near the front of the bus. Wait for the driver's signal before you proceed to load your bike onto the bus rack.
Step 4: Unfold the Bike Rack
Most buses are equipped with exterior bike racks located at the front. To access the bike rack, squeeze the handle or lever provided to release and unfold it. This will reveal the slots where you'll place your bike.
Step 5: Lift Your Bike Onto the Rack
Gently lift your bike and place it on the bike rack. Ensure that the wheels fit into the designated wheel slots. Your bike's front wheel should be positioned facing the support arm.
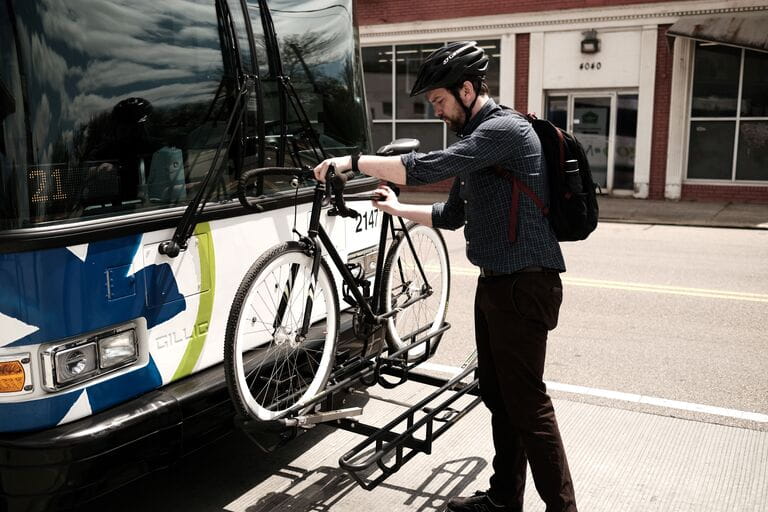
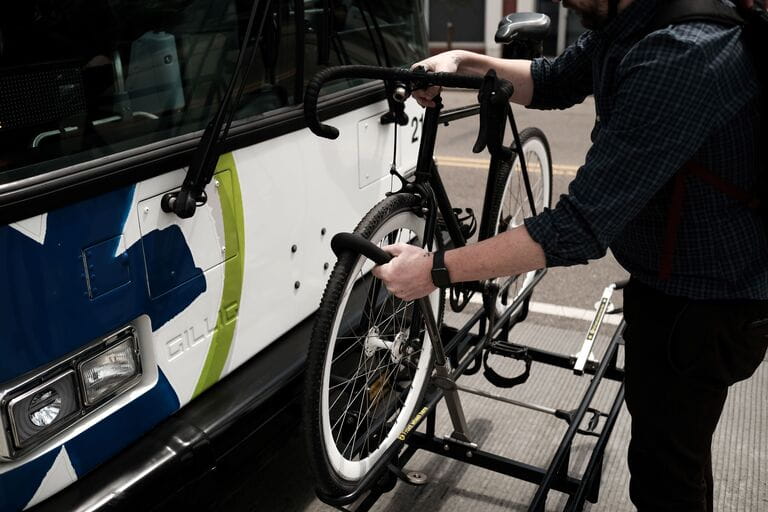
Step 6: Secure Your Bike
Depending on the design of the bike rack, you'll find arms, clamps, or straps to secure your bike's wheels. This step is crucial to prevent your bike from moving during transit. Ensure that your bike is snugly in place and won't wobble or sway.
Step 7: Verify Security
Before you board the bus, give your bike a gentle shake to ensure that it's securely attached to the bike rack. Double-check the straps, clamps, or arms to confirm that everything is properly fastened.
Step 8: Board the Bus
With your bike securely fastened to the rack, you're ready to board the bus. Pay your fare or swipe your card as required. Find a seat and enjoy the rest of your journey knowing that your bike is safely secured outside.
Step 9: Keep an Eye on Your Bike
Throughout the bus ride, periodically glance out the window to check on your bike. This will give you peace of mind and allow you to promptly address any issues if they arise.
Step 10: Prepare to Disembark
As your destination approaches, make your way to the front of the bus. Inform the driver that you'll be retrieving your bike from the rack.
Step 11: Disembark and Retrieve Your Bike
When the bus comes to a stop, carefully lower your bike from the rack. Ensure that you've collected all your belongings before leaving the bus.
Conclusion
Mounting a bike on a bus might appear complex, but armed with the knowledge from this comprehensive guide, you're well-prepared to take on the task. By following these step-by-step instructions, you can confidently integrate biking with bus travel, opening up a realm of possibilities for your journeys.
Understanding bus regulations, ensuring your bike's good condition, efficiently loading your bike onto the rack, and vigilantly monitoring your bike during the ride are essential steps to ensure a successful experience. Whether you're commuting to work, exploring new neighborhoods, or simply enjoying a leisurely ride, combining biking with bus transportation offers a versatile and eco-friendly solution. So embrace the freedom of intermodal travel, follow the steps, and make your cycling adventures even more diverse and exciting.


