Mountain biking is more than just a sport; it's a thrilling adventure that allows you to connect with nature, push your limits, and experience the world from a unique perspective. Whether you're a seasoned rider or just starting, understanding how to set up your bike's suspension is essential for maximizing your comfort, control, and overall enjoyment on the trails. In this extensive guide, we'll delve deep into the world of bike suspension setup, covering everything from sag and rebound to compression and damping adjustments, ensuring that you have the knowledge to fine-tune your ride to perfection.
1. The Heart of Your Ride: Understanding Bike Suspension
Before we dive into the specifics of suspension setup, let's start by gaining a fundamental understanding of the various components that make up your bike's suspension system.
The Components:
Fork: The front suspension component of your bike responsible for absorbing impacts from the trail and controlling your bike's steering.
Rear Shock: The rear suspension component designed to smooth out bumps and provide traction, especially when descending or riding over uneven terrain.
Springs: Suspension systems utilize either coil springs or air springs. These springs provide the primary resistance to compression when your bike encounters rough terrain.
Damping: Damping is the magic that controls the speed at which your suspension compresses and rebounds. It's the fine-tuning mechanism that makes your ride smooth and controlled.
Understanding how these components work in tandem is crucial for setting up your suspension effectively.
2. Setting Up the Sag
Sag is the initial amount of suspension travel that's used when you sit on your bike in your riding position. It's a fundamental parameter in suspension setup as it dictates how your suspension responds to terrain. Setting sag correctly ensures that your bike's suspension is ready to react to impacts as you ride.
How to Set Sag:
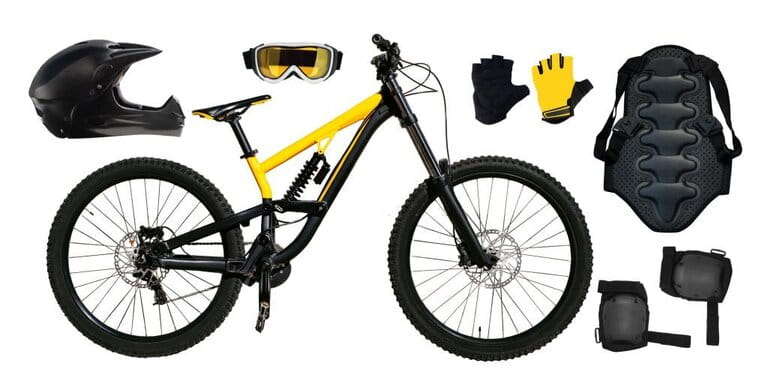
Gear Up: Put on all the gear you would typically wear when riding, including your helmet, hydration pack, and any protective padding.
Bike Position: Position your bike on a level surface, and mount it as you would during a ride. Your feet should be on the pedals, and your body weight should be centered.
Measure Sag: With the help of a friend or a helper, measure the distance between the o-ring on your suspension stanchion (for the fork) or shock shaft and the seal (where it meets the lower leg or shock body) while you're sitting on the bike in your riding position.
Adjust Air Pressure: To achieve the recommended sag percentage (typically around 25-30% for the rear shock and 15-20% for the fork), you'll need to adjust the air pressure in your suspension. Refer to your bike's manual or the manufacturer's recommendations for the correct pressure settings based on your weight.
Fine-Tune: After you've set the sag, take your bike for a test ride. Pay close attention to how it feels on various types of terrain. If it feels too soft and bottoms out too easily, add more air pressure. Conversely, if it feels too firm and doesn't utilize the full travel, release some air pressure.
Getting sag right is the first step in achieving an optimal suspension setup, and it's crucial for ensuring your bike responds appropriately to the trail.

3. Rebound Damping: Finding the Perfect Balance
Rebound damping controls the speed at which your suspension returns to its fully extended position after compressing. It's a critical parameter that affects how your bike handles different terrains and impacts.
Adjusting Rebound Damping:
Start with Baseline Settings: Consult your bike's manual for the manufacturer's recommended baseline settings for rebound damping.
Small Adjustments: Begin making small adjustments to your rebound damping settings. Typically, you'll find a rebound knob at the bottom of your fork or shock. Turn it clockwise to slow down the rebound or counterclockwise to speed it up.
On-Trail Testing: After each adjustment, take your bike on a test ride through familiar trails. Pay close attention to how it feels when navigating roots, rocks, and drops. You're aiming for a balance between quick enough rebound for maintaining traction and slow enough to prevent the bike from feeling "bucky" or out of control.
Fine-tuning your rebound damping is an iterative process, and it may take several rides and adjustments to find the ideal setting. Remember that rebound damping affects how your bike behaves on various terrains, so consider the type of riding you do most frequently.

4. Compression Damping: Balancing Support and Comfort
Compression damping is the counterpart to rebound damping. It controls the speed at which your suspension compresses when you encounter obstacles or rough terrain. Proper compression damping ensures your ride remains controlled and comfortable.
Adjusting Compression Damping:
Establish a Baseline: Just as with rebound damping, begin with the manufacturer's recommended baseline settings for compression damping.
Make Incremental Changes: Adjust the compression damping by turning the compression knob clockwise to increase resistance or counterclockwise to reduce it.
Trail Testing: Take your bike to various trails and terrains to evaluate how it responds. Fine-tune the compression damping to strike a balance between support and comfort. The right setting will allow your suspension to absorb impacts without bottoming out while still providing a smooth ride.
Consider Riding Style: Your riding style plays a significant role in compression damping settings. Downhill or aggressive riders may prefer a plusher setup with less compression damping, while cross-country riders might opt for a firmer setup to maximize pedaling efficiency.

5. Additional Considerations for Suspension Setup
Riding Style and Terrain:
Your suspension setup should align with your riding style and the terrain you frequent. Here are a few factors to consider:
Aggressive Riding: If you're into aggressive downhill riding, you may want more suspension travel and a plusher setup.
Cross-Country: Cross-country riders often prefer a firmer setup for improved efficiency and pedaling.
Trail Variety: Different terrains require different suspension settings. For smoother, flowy trails, you might want less compression damping, while rough, rocky descents may demand more.
Maintenance Matters:
Regular maintenance is crucial for keeping your suspension in top shape. Clean and inspect your suspension components regularly. Follow your bike's manual or the manufacturer's recommendations for scheduled maintenance and service intervals.

Professional Assistance:
If you're unsure about suspension setup or encounter persistent issues, don't hesitate to seek assistance from a professional bike shop or suspension specialist. They can provide expert guidance and fine-tune your setup for optimal performance.
Be Patient and Keep Notes:
Remember that suspension setup is a personal preference, and it may take some time and experimentation to find your ideal settings. Keep a log of your adjustments and how they affect your ride to help you refine your setup over time.
Conclusion
In conclusion, mastering your bike's suspension setup is a crucial aspect of becoming a skilled mountain biker. By understanding the basics of sag, rebound damping, and compression damping, you'll be well on your way to achieving the perfect ride for your riding style and terrain preferences. So, gear up, hit the trails, and enjoy the thrilling world of mountain biking with a suspension setup tailored just for you.


