Hello, dedicated cyclists and indoor fitness enthusiasts! Your bicycle is your trusty steed, and nothing beats the feeling of conquering the open road or exploring scenic trails. But what if circumstances, like bad weather or time constraints, keep you from hitting the pavement or trails? This is where a bike trainer swoops in as your indoor cycling hero, allowing you to pedal your way to fitness and cycling glory without ever leaving the comfort of your home. However, setting up a bike trainer properly is key to an effective and enjoyable indoor cycling experience.
In this comprehensive guide, we will delve deep into the art of setting up a bike trainer, ensuring that you not only keep your fitness regimen intact but also make the most out of your indoor cycling adventure. Whether you're a seasoned cyclist aiming to maintain peak performance or a beginner looking to stay active, these steps will guide you through the setup process.
The Advantages of Indoor Cycling with a Bike Trainer
Before we jump into the technical details, let's take a moment to appreciate why indoor cycling with a bike trainer is such a fantastic option:
1. Weather-Proof Training:
Rain, snow, sleet, or scorching heat won't disrupt your training schedule when you have a bike trainer. It's the ultimate all-weather solution.
2. Targeted Workouts:
Bike trainers often come with structured workouts that allow you to focus on specific fitness goals, whether it's improving endurance, increasing power, or building strength.
3. Convenience and Time-Efficiency:
No need to load your bike onto a car or plan routes. Your bike is ready to go whenever you are, making indoor cycling incredibly time-efficient.
4. Year-Round Cycling:
Extend your cycling season indefinitely with a bike trainer. You won't need to hibernate your bike during the off-season.
How To Set Up Bike Trainer
Now that we understand the benefits let's get into the nitty-gritty of setting up your bike trainer to unlock these advantages.
Step 1: Assemble Your Equipment
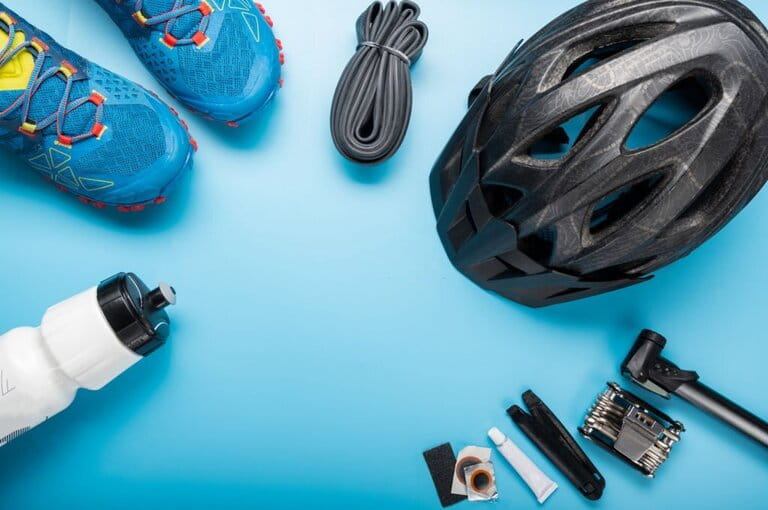
First things first, make sure you have all the necessary equipment and tools at your disposal:
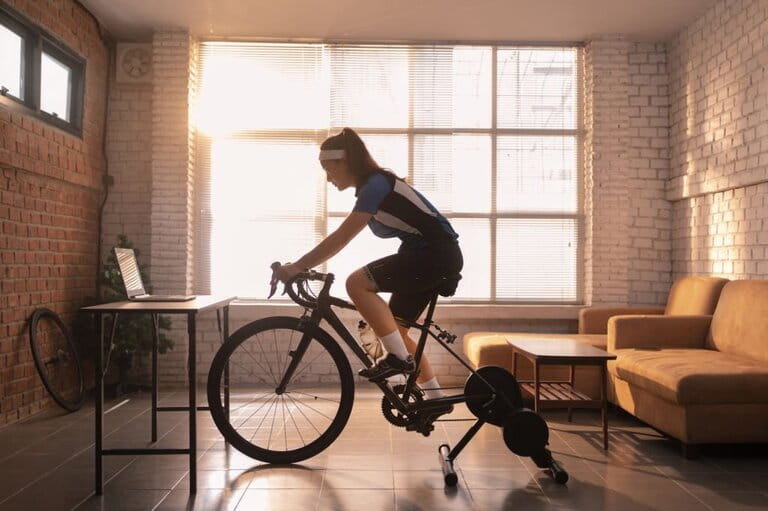
- Bike Trainer: There's a variety of bike trainers available, including wheel-on trainers and direct-drive trainers. Select the type that best aligns with your training goals and budget.
- Bicycle: Any bike with a quick-release rear wheel or thru-axle can be used with a trainer.
- Trainer Tire: To extend the life of your regular tire and minimize wear and tear, consider using a trainer-specific tire.
- Front Wheel Riser Block: This handy accessory elevates your front wheel, ensuring a level riding position and enhancing stability.
- Bike Trainer Mat: It serves a dual purpose – protecting your floor from sweat and providing a stable base for your trainer and bike.
- Towel and Hydration: Staying hydrated is essential, and you'll definitely break a sweat during your indoor rides.
Step 2: Choose Your Cycling Sanctuary
Select a suitable location for your indoor cycling setup. Here are some important considerations:
- Flat Surface: Ensure the floor is level and sturdy to prevent any wobbling or instability during your rides.
- Ventilation: You're going to generate heat during your indoor workouts, so a well-ventilated area is crucial for comfort.
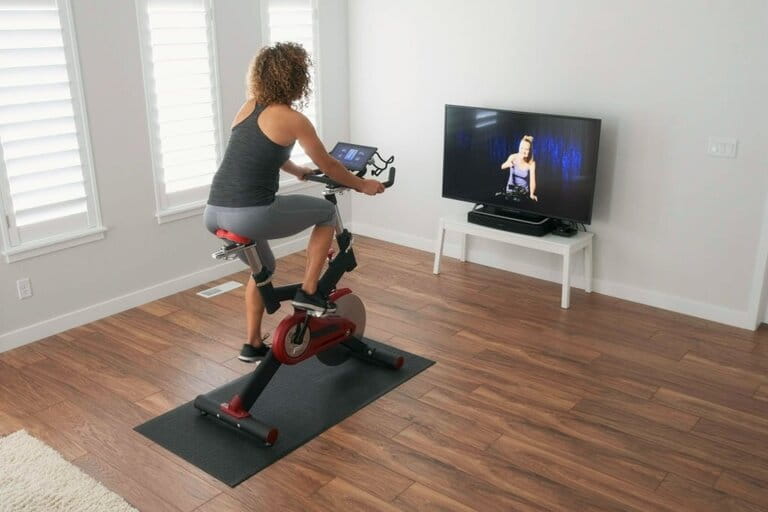
- Entertainment Hub: Set up your indoor cycling station near a television, computer, or tablet to keep you entertained during workouts or to access training apps.
- Power Source: If you're using a smart trainer, make sure it's positioned near an electrical outlet for a reliable power source.
Step 3: Prepare Your Bike
Before mounting your bike on the trainer, there are some essential preparatory steps:
- Clean Your Bike: Wipe down your bike to remove any dirt, dust, or grime, ensuring that it's in prime condition for your indoor ride.
- Check Tire Pressure: Ensure your bike's tires are adequately inflated to the recommended pressure for optimal performance.
- Install Trainer Skewer: If your trainer requires it, swap out your bike's regular quick-release skewer for the trainer-specific skewer provided. This is crucial for securely attaching your bike to the trainer.
Step 4: Master the Art of Setting Up the Trainer
Now, let's dive into the heart of the setup process:
Position the Trainer: Begin by placing your bike trainer on the floor in your chosen location. Make sure it's level and on a stable surface.
Mount Your Bicycle: Lift your bike onto the trainer and securely attach it using the quick-release or thru-axle mechanism, depending on your bike and trainer type.
Secure the Rear Wheel: Ensure that your bike's rear wheel is positioned snugly against the trainer's roller. This is essential for a smooth and safe ride.
Deploy the Front Wheel Riser Block: Place your bike's front wheel onto the riser block provided. This will help level your bike, ensuring a natural riding position and preventing undue stress on your bike frame.
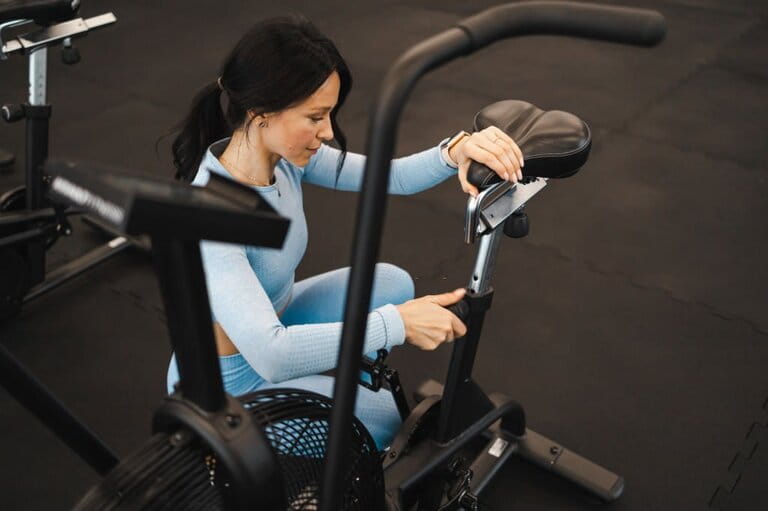
Check for Bike Stability: Take a moment to ensure that your bike is securely fastened to the trainer and that it's stable. A wobbly setup can lead to discomfort and accidents.
Adjust Resistance (If Applicable): If your trainer offers adjustable resistance levels, set it to your desired intensity. Whether you're going for a casual ride or an intense interval session, having control over resistance can enhance your workout.
Step 5: Safety First
Safety should always be a priority when cycling, even indoors. Here are some essential safety tips:
- Use a Safety Mat: Place a trainer mat beneath your bike to catch any sweat and prevent damage to your floor.
- Double-Check Bike Security: Ensure that your bike is securely mounted on the trainer to prevent accidents or mishaps during your ride.
- Stay Hydrated and Cool: Keep a water bottle and a fan nearby to stay cool and hydrated during your workouts.
- Emergency Stop: If your trainer has a quick-release lever, keep it within reach for emergency stops or quick dismounts if needed.
Step 6: Connect and Ride
If you're using a smart trainer, you have the option to connect it to various training apps and devices for a more interactive experience. These apps offer structured workouts, virtual group rides, and even the opportunity to compete with cyclists from around the world. Some popular options include Zwift, TrainerRoad, and Sufferfest.
Once you're all set up and connected, it's time to start pedaling and enjoy your indoor cycling adventure. Remember to listen to your body, gradually increase the intensity of your workouts as you progress, and most importantly, have fun while you're at it!
Conclusion: Pedal Your Way to Health and Happiness
By following these comprehensive steps on how to set up a bike trainer, you're not only safeguarding your investment but also unlocking the door to year-round cycling and efficient, targeted workouts. Whether your goal is to maintain peak cycling performance, increase your fitness levels, or simply enjoy the thrill of pedaling in the comfort of your home, a well-prepared indoor cycling setup is your gateway to health and happiness.
So, gear up, hop on your bike, and start pedaling toward your fitness goals. Every turn of the pedal brings you closer to your objectives, and your indoor cycling adventure awaits. Happy cycling!


