Cycling is a liberating and invigorating experience that allows you to explore new places, stay active, and connect with the outdoors. Whether you're an enthusiastic cyclist or just enjoy occasional rides, there comes a time when you need to transport your bike to different locations. This is where a bike rack comes into play—an essential tool that lets you take your bike on adventures far and wide. Mounting a bike on a bike rack might seem like a complex task, but with the right guidance, you can master this skill and ensure a safe and secure journey for your beloved bicycle.
The Challenge of Mounting a Bike on a Bike Rack
Insecurity: One of the primary concerns when it comes to mounting a bike on a bike rack is the fear of inadequately securing your precious bike. The last thing you want is for your bike to fall off during transportation, potentially causing damage to the bike and posing a safety risk to others on the road.
Lack of Knowledge: Many cyclists, especially those who are new to using bike racks, might lack the knowledge and experience required to attach their bikes securely. This lack of understanding can lead to confusion, frustration, and a compromised sense of safety during transit.
Time-Consuming Process: Without proper guidance, the process of mounting a bike on a bike rack can be time-consuming. This is particularly true when you're eager to embark on your cycling adventure promptly and efficiently.

A Detailed Step-by-Step Guide to Mounting a Bike on a Bike Rack
Let's dive into the intricacies of mounting your bike on a bike rack—the right way—so you can confidently hit the road:
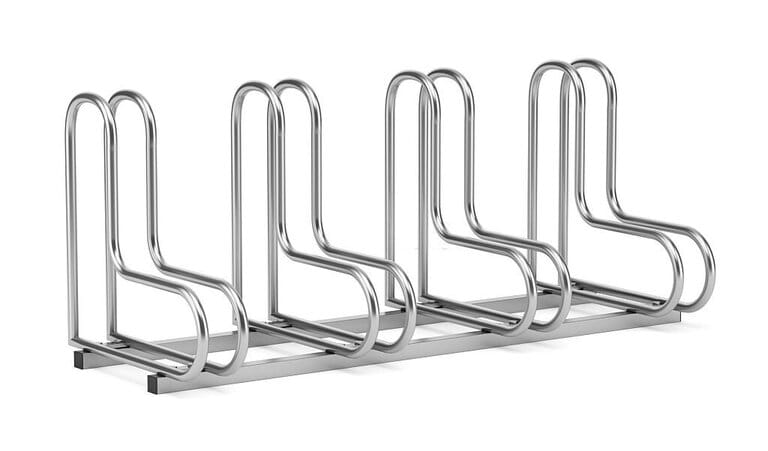
Step 1: Choose the Perfect Bike Rack
Your journey begins by selecting the appropriate bike rack for your specific needs. Take into consideration the type of bike you own—road bike, mountain bike, or hybrid—as well as the design of the bike rack. Ensure that the rack you choose is compatible with your bike's frame and size.
Step 2: Prepare Your Bike
Before attempting to mount your bike, it's important to give it some attention. Make sure your bike is clean and free from dirt, dust, and debris. This not only keeps your bike in good condition but also prevents any dirt from transferring to your vehicle.
Step 3: Position the Bike Rack
Follow the manufacturer's instructions to properly position the bike rack on your vehicle. It's crucial to ensure that the bike rack is securely attached and stable. Double-check that all straps, hooks, and connectors are in their correct places.
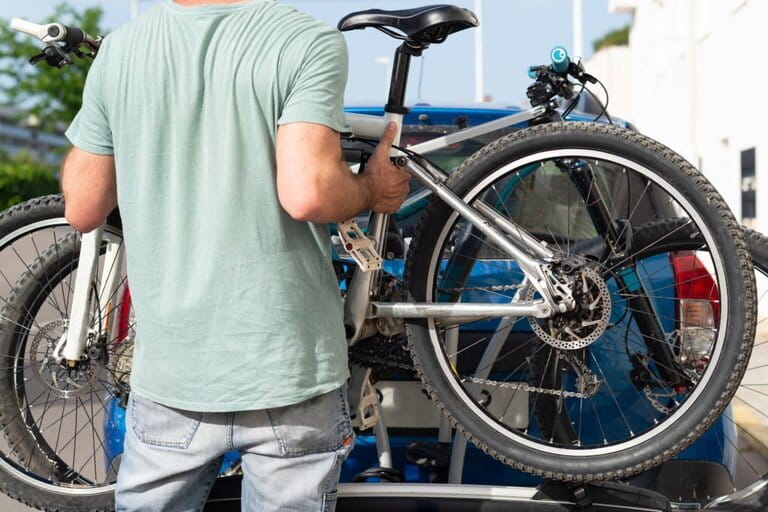
Step 4: Lift and Place Your Bike
With the bike rack set up, it's time to lift and place your bike onto the rack. Hold your bike by the frame rather than the handlebars, which can help avoid strain on delicate components.
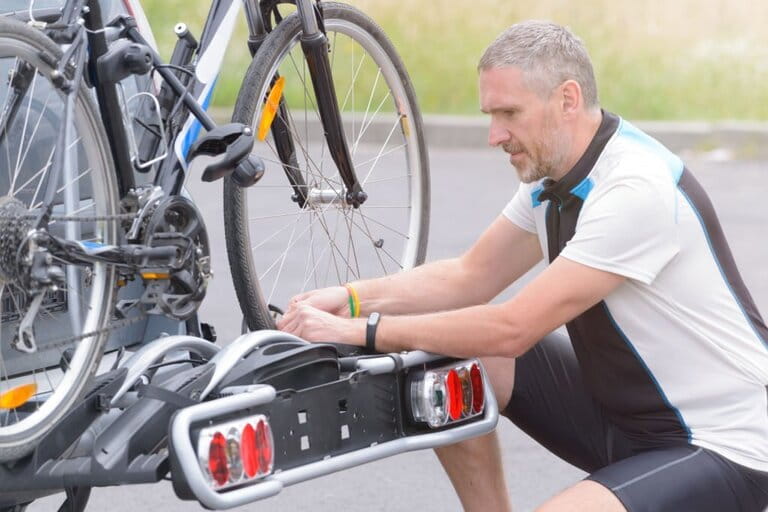
Step 5: Secure the Bike Frame
Use the provided straps, clamps, or hooks to secure your bike's frame to the bike rack. Follow the manufacturer's guidelines closely to ensure a snug fit without over-tightening. This step is crucial for the stability of your bike during transit.
Step 6: Safeguard the Bike's Wheels
If your bike rack has wheel straps, use them to secure the wheels in place. These straps prevent the wheels from moving during transportation and provide an additional layer of security.
Step 7: Recheck Security
Before you hit the road, give your bike a gentle shake to ensure it's securely attached to the bike rack. Perform a thorough check of all attachments—straps, clamps, hooks—to confirm everything is properly fastened.
Step 8: Conduct a Test Drive
Before embarking on your adventure, take a short test drive in a controlled environment. This will give you the chance to assess the stability of your bike on the rack while driving and ensure everything remains secure.

Step 9: Monitor Clearance
As you drive, be mindful of your bike's clearance. Pay special attention when navigating turns, bumps, and uneven surfaces. Prevent your bike from coming into contact with your vehicle or other objects.
Step 10: Arrival and Disembarking
Upon reaching your destination, find a safe place to park your vehicle. When it's time to remove your bike, carefully release the straps, clamps, or hooks, and gently lift your bike off the rack.

Step 11: Reattach Accessories
If you removed accessories such as water bottles, lights, or bags before mounting your bike, be sure to reattach them securely before you set off on your cycling journey.
Conclusion
Mounting a bike on a bike rack might initially appear challenging, but with the guidance provided in this comprehensive guide, it becomes an accessible and straightforward task. By following these step-by-step instructions, you'll be able to confidently attach your bike to a bike rack, setting the stage for an enjoyable and stress-free cycling experience.
The right choice of bike rack, precise positioning, secure attachment of the frame and wheels, and a final check before you hit the road—all these elements contribute to a seamless and pleasant journey. With practice, mounting your bike on a bike rack will become second nature. Whether you're exploring new trails or embarking on a cycling adventure, the convenience of a bike rack allows you to focus on the thrill of cycling while knowing your bike is securely fastened and ready for the ride ahead. So gear up, follow the steps, and let the open road become your playground of exploration and enjoyment.


