Bike tire levers are definitely among the essential list of a cyclist. They are cheap but surprisingly handy, especially when it comes to emergencies. If you are new to cycling or any of these concepts, you have come to the right spot.
In the article below, we are going to explain in detail what a bike tire lever is and how to use one (both remove and install a tire). Keep track and take note of what you need. Now let's keep you waiting no more and get the ball rolling!
What Is A Bike Tire Lever?
A bike tire lever is simply a tool that helps you to remove the tires off the wheels. Any cyclist is familiar with this item because it is cheap, highly portable, and crucial for their rides, whether it is daily workouts or long tours.
There can be a dozen reasons why you should carry a bike tire lever during your ride. However, the primary one would be the struggles you may get into without a bike tire lever. Some bicycles cannot get their tires off when the tire lever is absent. So, why miss this item on your journey?
More about bike tire lever
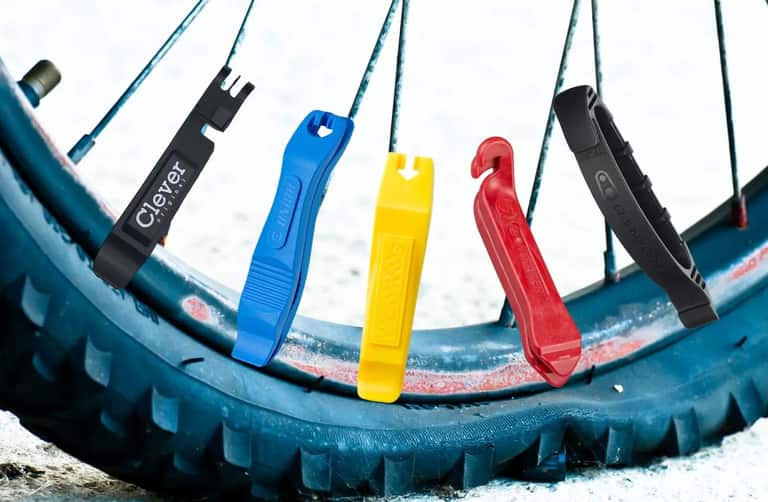
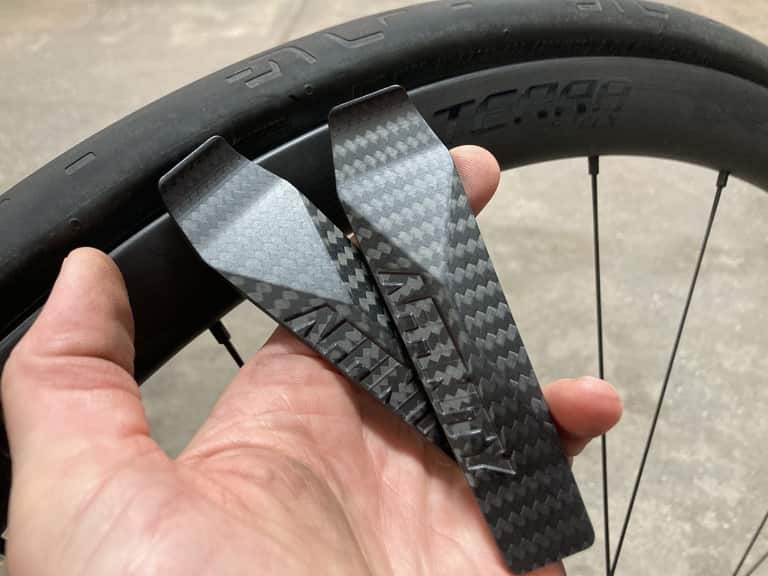
Bike tire levers are mostly made of metal or plastic. With modern manufacturing technology, brands are releasing fiber levers, guaranteeing outstanding benefits, compared to conventional plastic and metal items.
Evidently, each material type will have its pros and cons. But plastic tire levers are not always more vulnerable and less functional. As a matter of fact, more and more people are using plastic bike tire levers. They are lightweight, easier to carry around, and less likely to damage the rim of your tires.
The price ranges for bike tire levers in general can vary between 5 and 20 dollars. It is not difficult to find one with excellent quality in the range of 14 to 20 dollars. However, those with low price tags can surprise you with what they bring to the table. Hence, it is not always true when the price speaks for itself.
How to Use Bike Tire Levers Correctly?
Usually, when you purchase a bike tire lever, you will get a pack of two or three levers since that's the number of how many items you need to take off and reinstall bike tires. Nonetheless, for some bikes, you will only need one bike tire lever to completely remove its tires.
Despite that fact, we will still give you full instructions on how to use bike tire levers correctly to remove and reinstall the tires. Here is our detailed guide. Check it out.
How to remove tires with bike tire levers
Step 1: The first "digging"
First and foremost, you have to ensure that the inner tube is completely flat. This is an initial because you can only maneuver the following steps once your tires have no air in them.
Now, use your hand to push the tire from the wall of your wheel's rim. Remember to take it mildly and avoid any robust force. Such forces can make things flow in an unwanted direction later on.
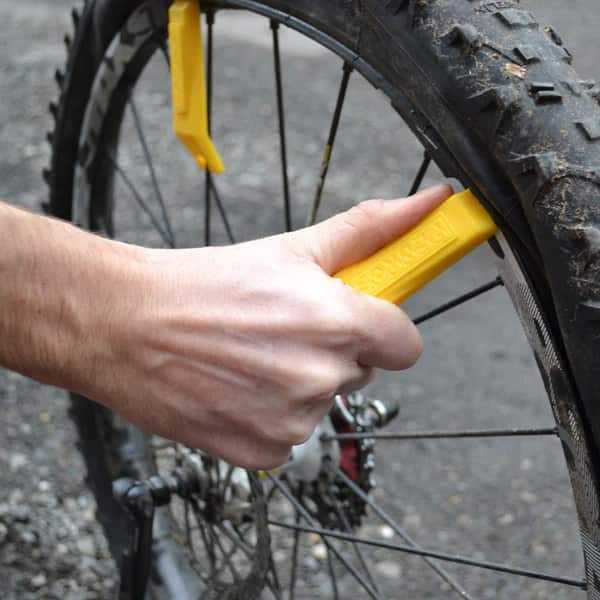
Then, it is time to dig the curved tip of the bike tire lever. The right position to dig is between the flat tire and the wheel's rim. Some manufacturers may have different markings in terms of lever tips. They can either be square or curved. However, the results are not varying much from one another.
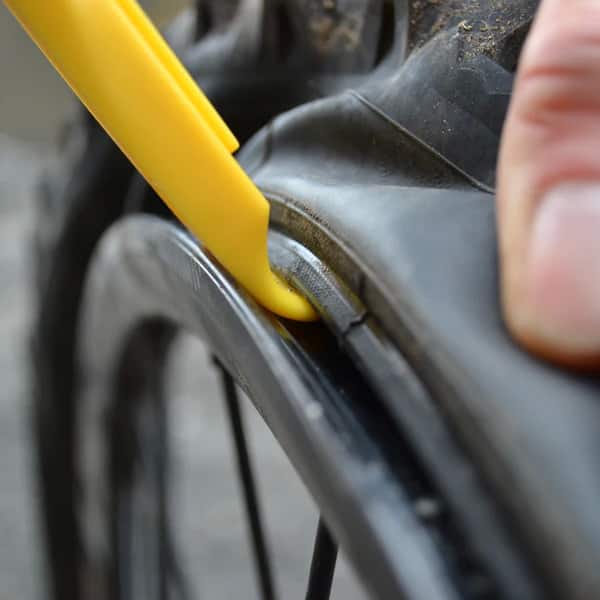
After the first digging, you should scoop the curved section, which lies beneath the tire's bead. That can be comprehended as the thick edge of the rubber.
At the end of this step, leave the lever lodged in the middle of the tire bead and the wheel rim for the moment and prepare to do the second digging.
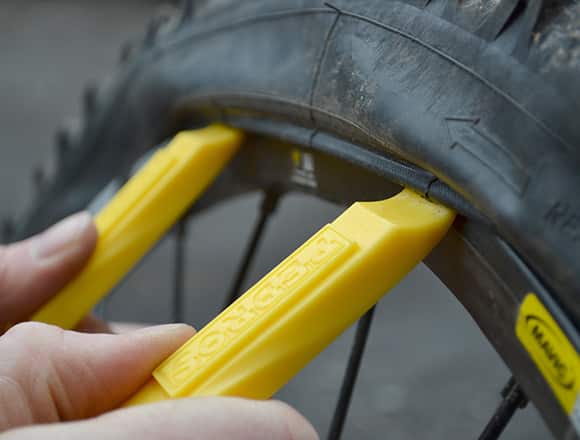
Step 2: The second "digging"
This step muchly resembles the first one. The only difference is that you must conduct it from a position 5 to 10 inches away from the previous spot. Do exactly the same as what we have guided. Once you have completed the second digging, it will then be time for the third step, which we name "Clipping".
Step 3: Clipping
Grab both bike tire levers, which you have maneuvered earlier, and push their ends down. This task requires a little force, but don't worry since the effort is pretty much minor.
When pushing the ends of two levers, you must take the wheel rim as a pivot point. Also, remember to push the ends into the center of the wheel instead of any other direction.
By doing so, you will pop a section of the bike's tire off the wheel and we are close to our final result.
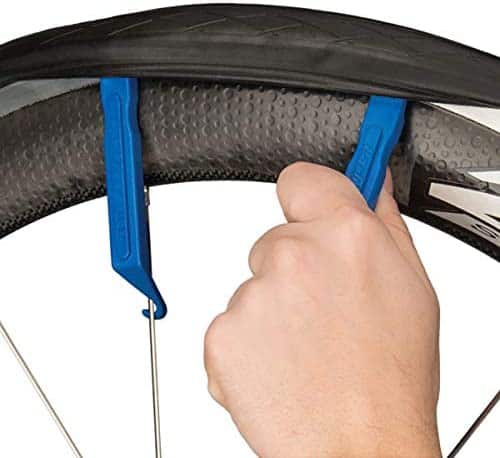
If you want to keep the tire pulled over the wheel rim, conduct that by hooking the opposite ends of two bike tire levers toward the spoke of the wheel. Each lever's end will then be beneath the tire and the opposite end is hooked into the spoke.
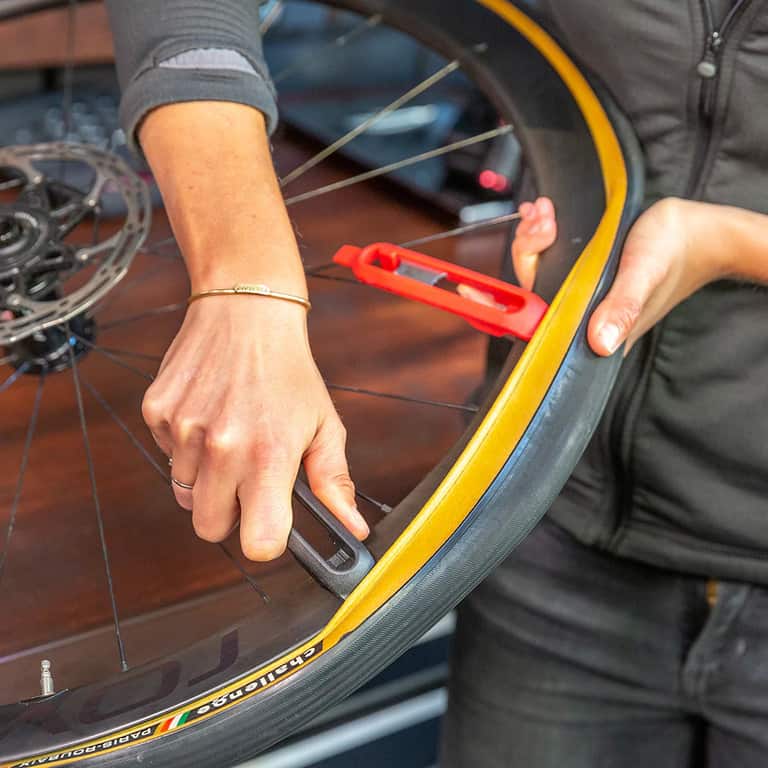
Step 4: Scooping and sliding
Our tire is almost ready to come off the wheel now that the two bike tire levers are securely fastened. In case your tire is from supple rubber, you can push out the tire with bare hands by popping the remaining parts.
In the opposite situation, as your tire is a bit too tight, use the third lever, if you have one, to pop it completely off the wheel. By doing so, the tire should come off the wheel without breaking a single sweat.
With the tire taking off is done now, you can take out a punctured inner tube for a new installation, but don't inflate the new one immediately.
How to install new tires with bike tire levers
It is time to pop the tire back where it should be. Here is a guide with details to do so.
Step 1: Pushing the sides
Before pushing the sides into the wheel, make sure the fitting is properly measured. Because once the tire fits, popping it into the spot is effortless. If not, you will have to replace the tire. Now lightly push the side of the tire over the wheel rim with your thumbs. Your tire is all set.
Step 2: Pulling with levers (optional)
This is muchly optional because it only comes into the scene when your tire is too tight and the pushing sides did not go well.
Now, you should use your bike tire lever and use its curved tip under the remaining section of the tire. Remember the curve must face down, hugging the inside of the rim. After that, lift up the opposite end while keeping the curved end firmly planted where it stands. Then pull the rest of the tire into its place. That's the final task in the whole inserting a new tire process.
The Bottom Line
That's all you need to know about the topic of how to use a bike tire lever correctly. Hopefully, the guide can be helpful to you. We have so many more tips and instructions waiting to be unfolded. Thus, stay tuned to our blog, and don't hesitate to send us a message if you have any concern that needs to be consulted.


