Fishing may be either a dynamic sport that depends on the athlete or a simple hobby. Whatever fishing you like, when putting up a fishing pole some of the main elements you have to recall. Regardless of what fish you expect to capture, adopt simple strategies to make your rod robust and effective.
This instruction should not take over 30 minutes with prior experience or ability on spinning rods and rolls. With a little experience, it just takes you 10 minutes to create your rod and reel
Phase 1 : Assembling your rod
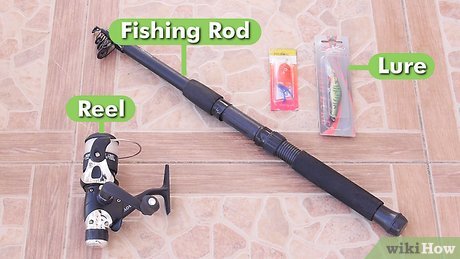
A fishing rod can be a complicated part, so that you understand vocabulary before you put your own together. It is smart. The junction where the pieces match together is called the shoe when your shoe splits into 2 or more bits. In a women's ferrule, the male ferrule inserts.
This handle is often referred to as a grip, where the rod is held.
Put it next to the handle in the dense section of your rod. The tip is on the end of the rod, the most flexible portion of the rod.
Instructions are the rings that lead the fishing line in the pole.
Clean the rod
Remove any soil or waste that can scrape all items with a rag. Use the swab to scrub a woman's ferrule with a cotton. You can prolong the life of the rod by maintaining the rod clean. Dirt will crack the parts that tie the rod together and break them.
Bring the piece together
Align the male and female parts for the flat service. If the female ferrule remains stable, the male ferrule is anchored around it. Often guarantee that any guides to protect the ferrules are matched correctly if possible.
Stop automatically if the rod doesn't come together. See the directions. Are you lacking some kind of locking mechanism? You risk permanently breaking the rod if you force it together.
You must rotate the pieces on the rods. Do it with the female ferrule retaining and the male part spinning as they are adjacent. That's going to lock in the rod.
Attach the reel
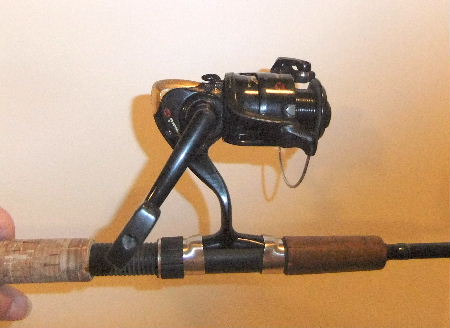
You can see a female space to fit the reel as you scroll down to the bottom of your rod. This is known as the seat for the reel. Attach your reel. Insert your reel. Place the bucket bench over the butt of the bucket, which functions like a smooth handle. It's going to be on the roll. Rotate until all the parts are healthy.
Be careful not to pull the roll forward. If you push the thread to pass what it is designed for, it will break and destroy the rod.
Recall the right is narrow and left is loosely threaded. If you look from the back of your rod, thread string will tighten it. In other words, the spinning thread will tighten in the clockwise direction when rotating in the opposite direction.
Phase 2 : Threading the pole
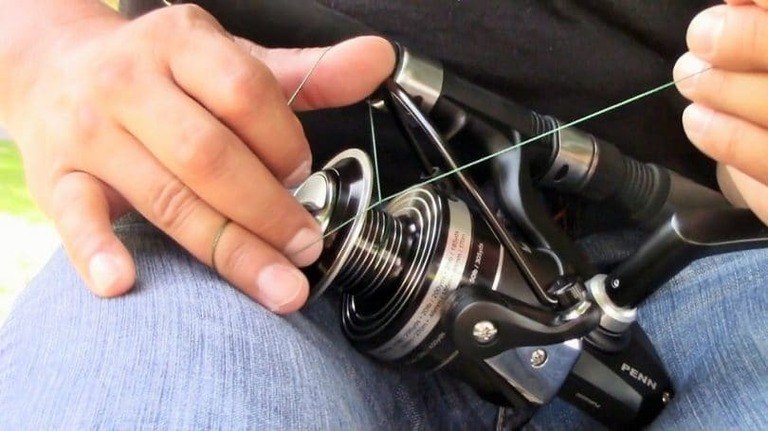
Lift the bale arm
The arm of the bale is the above silver item on the ball. You will turn the weight on the other side of the reel as you add a small volume. You can draw the thread edge after pulling the bale arm and the reel can loosen this thread.
Please be careful here. You might look at the wrong part if the bale does not rise up quickly. Your bale must never be tightened up.
Verify that the line bobbin disengages the same way as the bobbin. You have needless rotations and knots if they don't complement them. If the trajectory is not the same, simply turn the bobbin to follow the direction.
Thread the line through the guides
Many rods are connected to the rod by 4 to 5 guides. Thread it with the line that starts at the insole nearest to the roll, and then starts from below. Travel up to the tip of the rod.
Close the bale arm
Just turn it in the same way as you turned it before, and close your arm. Pull the line softly to check if it is locked. There should be no more rows.
Rehearse the course of the spool in a minimal number of rows. If the reel does not spin in the same way as the spool you must begin after the spool direction has been determined.
Phase 3 : Attaching the lure
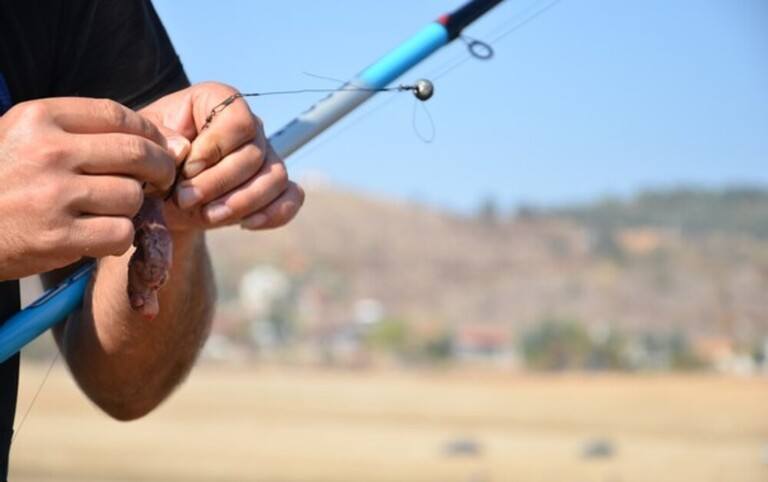
Thread your line through the lure
Via your lure thread. When you thread the lure into the string, leave a line on the other side of the lure, around 10 inches or 20 centimeters..
Given that the fishing strip is too hard to see, it is always recommended that you use rope or shoelace knot.
Back the line around itself
Draw the free end of the process to the entire line as your line is lure and lie on the deck. Put the end of the line on the other part of the lure loosely, like a traffic cone covered in a primary colors cover. Stop when nearly five times you have wrapped the rows together.
Tuck the free-end of the line
Pull it back to the lure at the end of the string. Then loop the first large loop containing the thread. When you've crossed it, tuck it into itself again, and it's under the line.
Tighten the knot
Keep both the line and the line stop. Take them together painfully. This should tighten the line in which it is bundled and build a tight knot at the lure. The report is not available. You can have to support the process by finger nailing the twists right to the lure. Once the knot is firmly wrapped, cut off the surplus.
CONCLUSION
Here is our guide for setting up a fishing rod. You go there. The distinction between fishing and going back home without it would be knowing how to assemble a fishing rod. You will surely pick a fish if you have mastered the move.
If you don't catch a shark, though, that may also be the weather. Make sure you connected each part properly and selected a lure appropriate for the season. You can also get the fish your rod will catch in the pond you pick.
We hope you were insightful of this post. Do it now and then and for the rest of your trip you're fantastic.


