When it comes to bicycle commuters in the US, the autumn and winter months are notoriously difficult due to lower weather, more rain, and longer hours of darkness each year. Aside from keeping warm and dry, maintaining appropriate illumination needs a thorough annual assessment and testing. Because our lights are designed to function in a harsh atmosphere, don't expect too much from them.
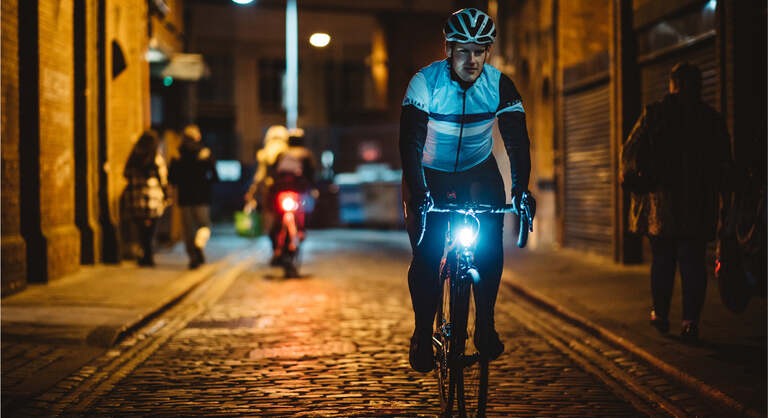
Having a good bike light is essential if you want to ride your bike at night or in the dark. Bicycle lights are required by legislation in several places. After purchasing a bike light, it's possible that you're not sure how to install it. As a result, the following should provide you with all the necessary information.
1. A guide before installing bicycle light
Front Light
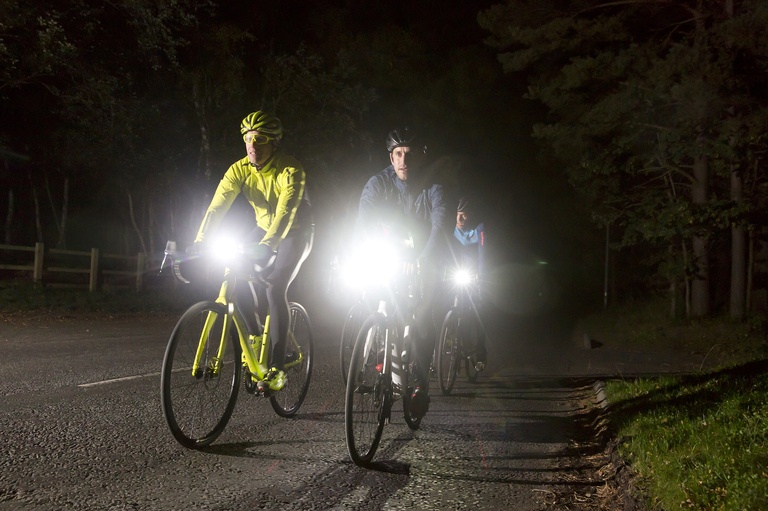
It's important to choose your front bicycle lights wisely, taking into account the type of riding you'll be undertaking at night. Your primary concern if you're just going to be riding in metropolitan areas, is 'seen' by the other road users. Ride on dark roads and pathways, and you're going to need a light that can help you "notice" the potholes in the road before your wheel goes into one. Seek out corners before reaching them as well!
Manufacturing ultra-powerful lights is now achievable because of advancements in the fields of rechargeable lithium batteries and LED technologies. Because of the threat of blinding other road users (which is illegal), they are not suitable for urban use. In addition, they tend to be bulkier and cost more than the average commuter light. If you're riding in a city, you'll need a front bicycle light that produces 500-700 lumens and has a flashing function, although having more than one light as a backup is also recommended. As soon as they run out of power, disposable Lithium batteries just stop working. As a result, you don't get much of a warning.
In contrast, the beam patterns here are built so that cyclists can see harmful low hanging branches also all the trees on the trail's side. Most of the high-powered headlights on the market were built only for off-road usage and are inappropriate for road use. One of the problems is that a careless rider may place a powerful light in front of their street bicycle and dazzle everyone else on the road with it.
Rear Bicycle Light
While the number of lumens in front bicycle lights has continuously increased, rear bicycle lights haven't experienced the same level of improvement. Most lights now come with lithium ion batteries and USB charging capabilities, but the outputs haven't changed. This is likely due to the fact that most manufacturers have accepted the industry-imposed 0.5-watt restriction for rear light brightness.
In the meanwhile, there have been a few technical advances that are important to note.
In the meanwhile, there have been a few technical advances that are worth noting.
- There are certain dynamo rear lights that can detect when you're braking and adjust their intensity. It's more prone to make the rider 'feel' safer than it is to really make a difference to the behavior of the automobile behind, like many 'upgrades' Anything that catches the attention of another road user should be viewed as a good in the long run, but in Germany, dynamo and dynamo-derived rear lights are required to comply with German laws, which means they are legal and have the required retro-reflector. As a result, they won't be able to flash in Germany because of the laws.
- In a USB rechargeable rear-light, both Cateye and Exposure have a comparable detecting feature. Slowing down at a crossroads will also brighten theirs.
- For example, Garmin has created rear bicycle lights with radar that alert riders through a handlebar mounted display when an oncoming vehicle is coming from behind. A Garmin tool connected to the light automatically adjusts its brightness based on the available light.
It's important to remember that only bicycles are authorized to flash a red light in the back, so it's a fantastic way to distinguish yourself from other vehicles in bad weather. Having a rear bicycle light, even if you have a steady beam, makes sense. In addition, the integration makes it easier for the driver to locate you.
Fitting Light
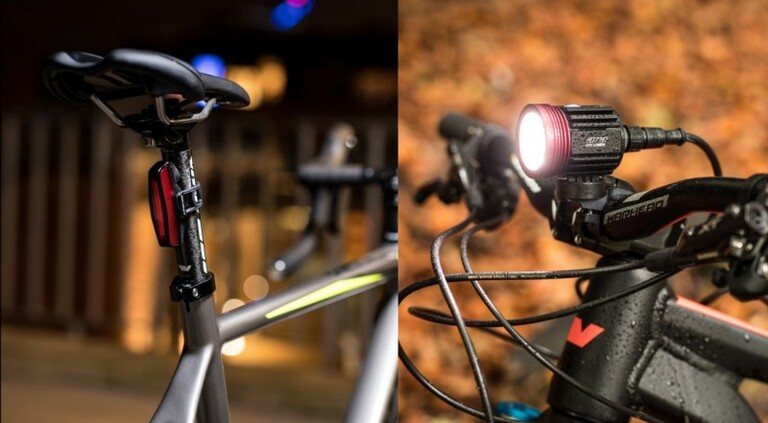
Traditional battery-operated bike lights and modern rechargeable lights are designed to be readily detached from your bike without the use of tools. Since the batteries can be robbed if left on the bike, it's best to remove them frequently so you can recharge or replace the batteries.
However, if they "hang" beneath the handlebars, it allows for greater space for the rider to move around and enjoy the scenery. With the help of Exposure Lights, they have designed a bracket that attaches directly to your handlebar clamp, allowing you to place your light in front and below the bars, out of reach of your hands.
In most cases, battery-operated rear lights are attached to the seatpost, where you must be cautious that they are not covered by coats and low hanging luggage. Seat stay installation is also available on some models.
This is because they contain cables that link them to the dynamo unit and each other, thus they cannot be relocated after they are installed on your bike. Dynamo headlights are also mounted on the fork crown for the same purpose: to make the cord to the hub generator as short as possible, and to minimize the lamp away from your handlebars.
There is now an option to buy alternator rear lamps with battery backups that can be mounted on any carrier with the normal European fittings – two rear-facing 5mm holes spaced by either 50 or 80mm. However, the load of the batteries tends to hasten the breakdown of plastic mudguards, making them less effective.
When it comes to helmet-mounted bicycle lights, we've already talked about how beneficial they can be for lighting traffic signs and mending punctures in the dark. As the brightness output of small strong LED lights has increased exponentially, a light on a man's head will at some time reach the eye-level of another – generally when they're close enough to be severely blinded.
For example, unless you're going off-road in the dark in the woods, keep your brightest light on the handlebars, and only use your head-torch to highlight signs and offer additional protection. Not to add that strong helmet-mounted bicycle lights do little to aid motorists when they notice a light that is not only extremely high above the ground, but that also continues shifting around when the rider looks over his shoulder.
2. How To Install Bicycle Lights
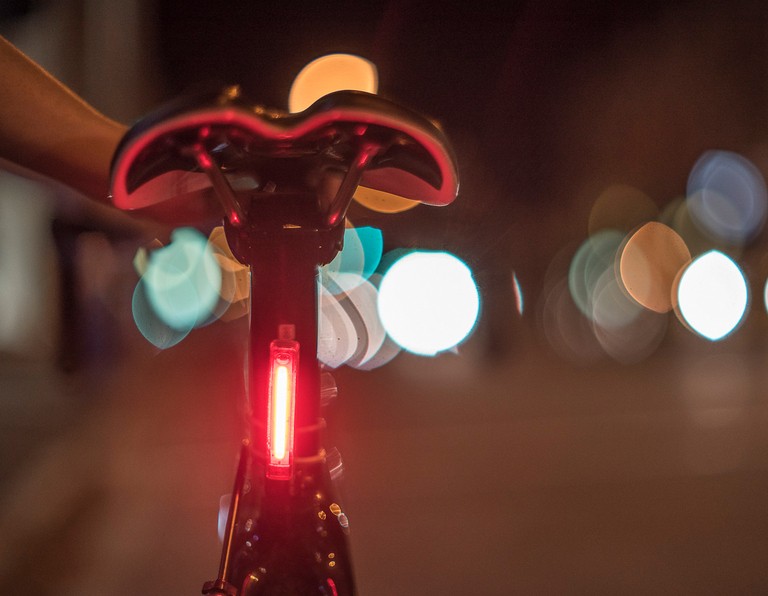
Mounting Rear Bike Light
- Step 1: The rear light fast link bracket is wedge-shaped and will have a saddle icon on it, directly beside the strap's hook, so ensure you are using that one!
Note : As a result of the wedge form, the backlight is always perpendicular to the ground. When the light is cast precisely behind you, it maximizes your visibility and ensures that motorists can see you.
- Step 2: Hold the bracket so that the broadest portion of the wedge is towards the ground and the saddle symbol is pointing straight up and forward.
- Step 3: Light up the seatpost, but keep it low enough so it won't be hidden by a bag or seatpack.
- Step 4: Using a rubber strap, wrap a quick-connect bracket around your seatpost.
- Step 5: Catch the hook by sliding it through the slot in the strap and securing it there. To prevent any leftover strap from falling off, the hook has a tab.
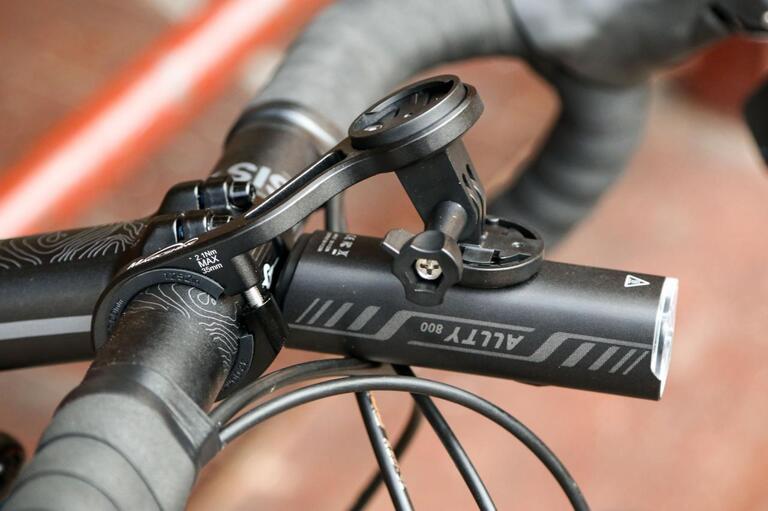
Mounting Front Light
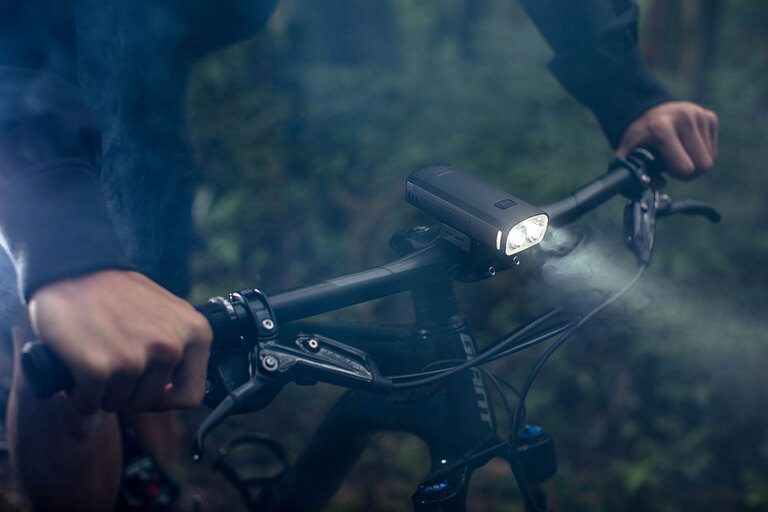
When your light has an hard-mount bracket that can adjust:
- Step 1 : Start by checking that your handlebars' diameter fits the bracket's.
- Step 2 : Disassemble the bracket and attach it to your handlebars by unscrewing the bolts.
- Step 3 : In order to secure the installation, hand-tightening the screw until it's thumb is required.
If your light has a quick-link bracket:
- Step 1 : You should attach it to your handlebar by tightening the strap such that the light is perpendicular to the ground.
- Step 2 : Next, wrap the rubber straps all around the bar, and fasten the hook through the slot in the rubber strap.
Conclusion
Cycling safety at night and in low-visibility circumstances is dependent on the use of proper bicycle lights. Each state has its own set of regulations governing which lights and reflectors you must have on your bike, but it is wise for everyone involved in the process to make sure that they are properly equipped with all of their required lights.
Any reflection you have on your bike or on your body isn't going to make up for the lack of bicycle lights. Cycle safely and intelligently!


