Would you like to spice up your journey with some spectacular design and color? You will not only be doing it alone, but you could still obtain amazing outcomes for much less cost.
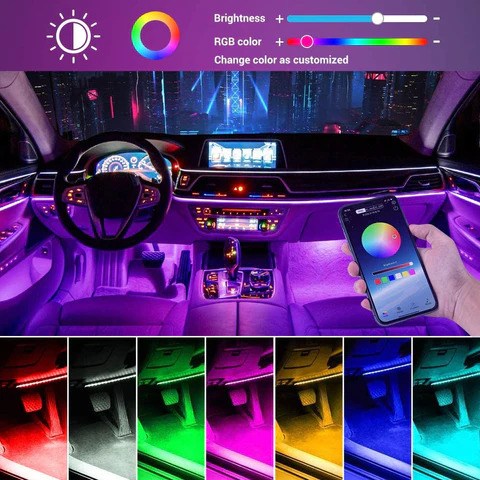
Installing customized interior car lighting is among the best methods to personalize your car. You may change the color and mood of your car with customized interior car lights. Customized lighting are indeed the best method to generate a distinctive style, if you desire a nice red light or any other color.
Selecting for the suitable product
To begin the setup process, initially you must obtain the LED lights that will be installed in your vehicle. Although you may be eager to acquire specific parts and build the task from the ground up, we strongly suggest getting it easy on yourself.
To function effectively, multicolored LEDs required an electricity supply as well as a connector. Determining the correct parts together could be a nuisance when you really do not understand what you've been doing. It's best to get ready-made LED light packages.
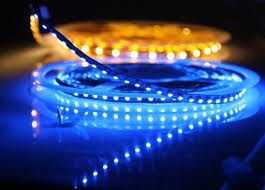
Among the most frequent lighting options found are LED lights. It’s because leds produce light using a semiconductors technique that guarantees they will not wear out like most kinds of bulbs. LED lights are also energy efficient and do not generate heat. As a result, they're a good alternative for illuminating your cars inside. LED lights are sometimes offered in stripes, making them simple to place
The majority of LED light strips are made to accommodate a wide range of automobiles. You may require more lights if you've a bigger car. The amount of lights that are required is however determined by quantity of lights you intend to put. Always go with a trustable brand that uses advanced lighting for the best effects.
How to install interior lights for car
Preparation
Collect all of the techniques and equipment you'll use for the job before you can put the lights, you must first purchase them. Investing in an LED car light system might help immensely for you. The LED light strips individuals should be included in the packages, along with a power source which will attach to your car, a control system that would assist you swap among light settings, commonly with a controller and/or the phone app, and a battery pack that will link up to the car's 12V lighter socket. Outdoor lights must have a waterproof coating to secure them.
It's a smart idea to have a few more extra items on hand in addition to what comes in the package. We may want some extra adhesion assistance to enable the setup process. A powerful glue which bonds well to the car's steel may improve the 3M tape's adhesion.
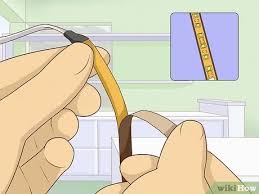
You would like to ensure the stripes are secured in such a position that they can withstand the vehicle's motions, harsh weather, as well as the natural due to wear of time. Zip ties also function well. Those who are more careful, you might make a hole for nails and add small supports to keep the light in set.
Source of power- Identify the source of electricity, which really is where you might attach the lights, when you start arranging your lights. It should typically still be minimum 12 volt and could be a speaker or perhaps an outlet. These lights could be connected in the junction box of your car. Make careful to ground the negative power line, as it would need to be grounded. It should be a location beneath your vehicle's dashboard. Disconnect one of the screws on the car's bulkhead and slip the wire under the bolt using a connection. Then, reinstall the screw and secure it firmly.
Setup
Then it is the time to get down for business:
Create a Plan- Make sure you know how you're looking to put the lights. Some spots that appear to be excellent could be too buried, obscuring the lights and diminishing their illumination area. Use a good hand light to project how well the LED lights will look when they're placed. Plan, design, and evaluate the space in which the lights would be installed.

Check all Lights- Ensure the lights are turned on again and functioning properly. You don't need to go through the hassle of putting them only to find out they don't perform.
Wipe your Area- Tidy the space in which the lights should go with a wet cloth to remove unwanted dusts, ideally using ethanol spraying for fast dry. Whereas if the surface is uneven or it has formed muck, smooth it off and wipe down it before proceeding.
Following cleaning, give those areas adequate drying time before doing a final check to ensure that there were no last-minute tiny particles in the process. Then start removing the sheet behind the lights, setting them in their designated locations
Reinforce- Since you're putting these in position, ensure they're firmly fastened so that they can withstand future tough scenarios. As previously stated, secure them such that they can withstand small knocks, scratches, dirt, weather, and so on. If necessary, attach them in position with more glue or even create extra brackets. Whichever way you use, be certain they don't slip off.
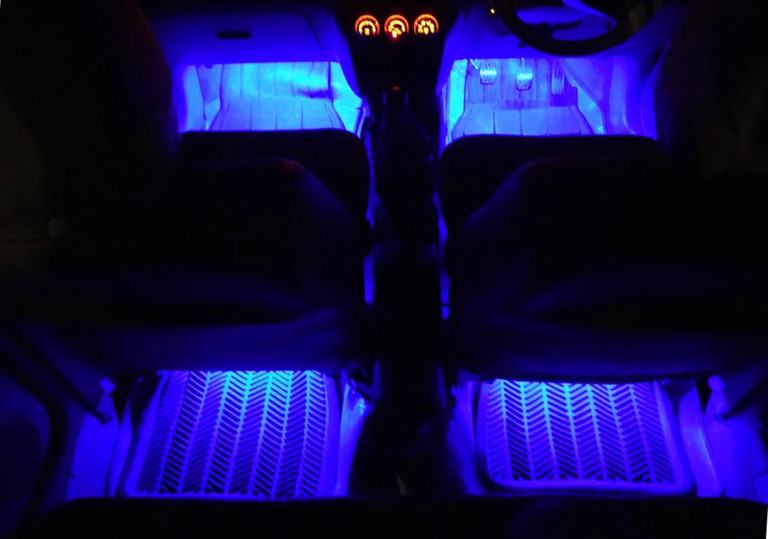
Set up lighting: This is time to put the lighting to work now when the adhesive has hardened and the power was already turned on! Turn them on using the control or the application and experiment with the various light options. Try all sorts of songs and observe how well the beat, making the colors move along you. Determine the level of lighting that you are most pleased with on the interior so that it is not bothersome. For a consistent look, align exterior color to the color of your vehicle's exterior, or to go far with randomized color choice. Setup lights by connecting light to a source of electricity but then placing them where you would like them. Ensure the light's remote is like a simple position. You'll have to also pick whenever the lights should be turned on. So can have them come on now with the lighting or once the remote is used. You can operate certain LED lights with your smartphone.
Check the light: After you've completed putting the lights, make sure they function by testing them. When they don't, you'll have to debug every one of these procedures once more to figure out what's wrong.
Final words
If you haven't already, you'll prefer to drive when you've fitted those lights. You could find yourself going shopping quite frequently then taking a longer route home. Further than prepping for the setup process, following instructions would get you there.
Set aside some time when your schedule was not too hectic, and carefully put the lighting inside and/or exterior your vehicle until they're correctly fitted and operating well. Then it's just a matter of enjoying yourself. There will be no more dark roadways or misplacing items in your vehicle. You'll now be able to enjoy the warmth and ambience of glow lighting. Good luck on your journey!


