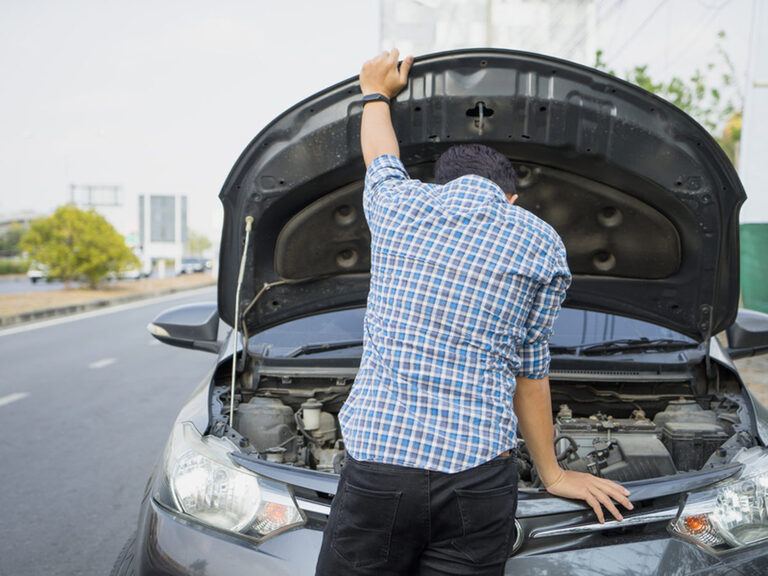
Cleaning under the car hood still gets on car drivers' nerves. It is because they haven't known how, and there have been many questions raised around this matter. Understanding the circumstance, we have come up with a complete and easy-to-comprehend piece of information about cleaning under a car hood. Before jumping to the major concern, we would identify several signs of a problematic engine that you should look for.
Troublesome Under Car Hood - Common Signs To Look For
It is undoubted that without cleaning for a long period, every car engine would downgrade whether minorly or massively. Some drivers may not pay much attention, hence, have yet to identify a problem under the car hood. Here are the five most usual signs you can quickly detect if you suspect that something has gone wrong under your car hood.
Knocking Noises Are Detected
One of the easiest indicators to detect is knocking noises from the engine. Should you hear any noise that rises and falls, you'd better get to the nearest shop as soon as possible. The knocking noise is also among contributors to failing engine bearings if you haven't known. Failed bearings in a car are capable of resulting in an undesirable seized engine
Excessive Amount Of Exhaust Smoke Appears
Excessive amounts of exhaust smoke are probably the most concerning issues, for whatever motives are behind them. Based on the color of the exhausted smoke, you can guess what is going on with your car engine. If the smoke is blue, it can be a result of burning oil, while the white smoke is a sign of coolant leaking into the combustion chamber. Black smoke would mostly represent the state of using redundant gasoline.
Unusual Engine Light Occurs
The engine light can also tell much about the overall condition. If you detect any unusual lighting issue, you would make an appropriate computer diagnosis for your vehicle. Odd engine light can be indicating a small issue, but eventually, it would grow more serious, and it is not a bad choice to have it taken care of before things get worse.

Metal Flakes Are Found In Oil
It is advisable that you have your car serviced at least once a month. When you do so, it is likely that you would discover the metal flakes in the engine oil should there be any. Metal flakes can be the major reason why your engine is not functioning probably, and later cause severe damage to it.
Downgraded Performance Is Witness
One last common sign detected that clearly indicates there is something wrong going on under the car hood is a decrease in performance is recorded. As you sense the smallest detail in the engine's operation, you should start to take it seriously.
Cleaning Under Your Car Hood - A Complete And Simple Instruction
Taking care of your car engine would include cleaning under the car hood. It will evidently increase the lifespan of the engine and the smoothness of its operation. Down below will be a complete step-by-step instruction on how to clean under your car hood. This may assist you remarkably in the cleaning task.
Preparation Part
As you clean under the car hood, you must prepare some devices in advance to ensure the process can go as smoothly as it should. Here is the list of tools required for the cleaning.
- Air compressor: an air compressor is compulsory for blowing out all the debris left in the engine. If you do not have an air compressor, you can replace it with a leaf blower. It would also be used when we have to dry the engine.
- Absorbent mats or rags and drip pan: any item among these three can help to gather all the runoff from your car engine and help to scrub or clean it.
- Plastic bags and tapes: these are to contain parts that are vulnerable to watery contacts.
- Sockets: these are for unfastening the battery cables of the engine. Remember to take the proper sizes with the sockets.
- Degreasers: while cleaning, you will deal with oil and fuel on the engine's surface, and degreasers are there to help.
- Brushes with stiff bristles: if the oil and dirt have become caked on the engine's surface, it is time to use a stiff-bristled brush.
- Hose: rinsing work would go to the hose.
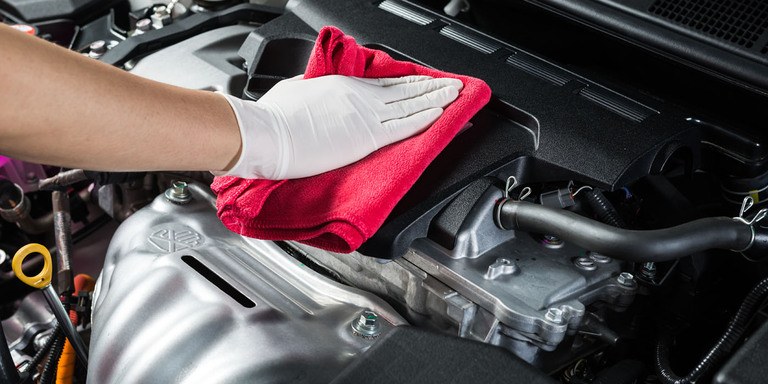
- Microfiber towel: a microfiber towel or any soft one would do the wiping task.
- Engine protectant: this agent will help to retain the new overall appearance. It would be easier for you to clean under the car hood in the future.
A Step-By-Step Process To Clean Under Your Car Hood
- Step 1 - Cooling down the engine: many people have claimed that the engine should be warm for more effortless cleaning, but we say that it is capable of damaging the engine in the future if the engine is still warm or even hot when you start to clean under the car hood. So the first step, if the engine is warm, cool it down before any other step is conducted.
- Step 2 - Removing any debris found: this is where the air compressor prepared comes into the scene. Blow away all the debris you can possibly find in the area. You can use the leaf blower in case you cannot find an air compressor, as long as the final result is guaranteed.
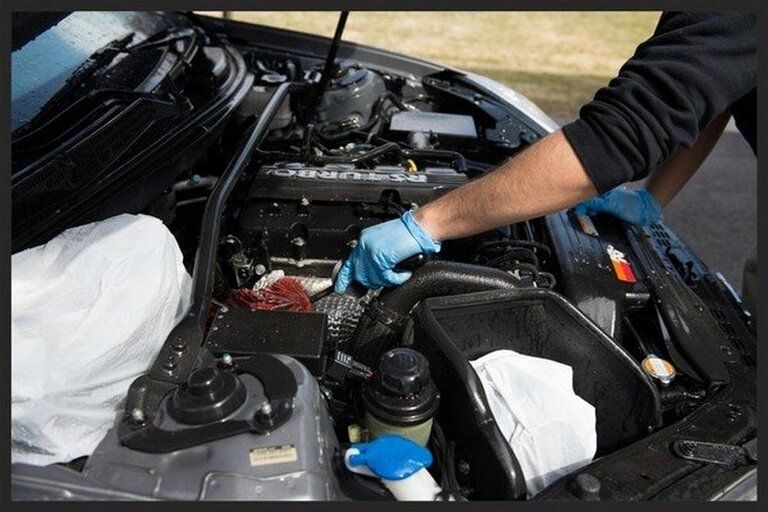
- Step 3 - Clearing all the oil and chemicals: use a drip pan and place it underneath your engine, then wash carefully all the oil and chemicals on the surface away. The drip pan would now catch what you have been washing off the surface.
- Step 4 - Protecting the crucial components: take your plastic bags with tapes to contain all the parts that are vulnerable to watery contacts so that your cleaning can go on. The components are the alternator, air intake, battery, fuse box, electronics, engine controller, electrical connectors, relays, sensors, distributor cap, and spark plug holes. There is the basic list for one cleaning. If your car has any other part which may face the risk of destruction as you clean, don't hesitate to seal them in.
- Step 5 - Removing battery and cables: battery and cables are not protected well enough with tapes and plastic bags. They should be taken out to avoid any unwanted damage. When removing the cables, keep in mind that the negative goes first, then the positive.
- Step 6 - Spraying degreaser, scrubbing them off, and rinsing: now you can spray on the degreaser to remove any dirt and oil on the surface. Then use the stiff-bristled brush as prepared to scrub the caked-on ones. You can do this step several times until the surface is clean enough. Before you scrub, let the degreaser have 10 to 20 minutes on the surface. Next, rinse the engine properly to wash away all the dirt and oil.
- Step 7 - Drying the engine: the engine must be dried completely after rinsing. At this step, you can use the air compressor or leaf blower to have the first dry. The second effort would be taken by the microfiber towel. Your engine should be as dry as it can be after that.
- Step 8 - Removing the bags and applying protection: we nearly come to the final step. After you dry the engine, you can now remove the plastic bags and tapes to apply the protectant. The protectant is applied only to vinyl, plastic, or rubber parts
- Step 9 - Putting back the battery and cables: as we have done cleaning, now you can put back the battery and cables. The process is now done.
Final Thoughts
When cleaning under the car hood, keep in mind that you should follow the instructions strictly and have no need to rush. If you still feel that you are not confident enough to do this at home or alone, you are free to ask for help since it may ensure your desired result.


