The method of setting up a tent varies from tent to tent. Most contemporary models include a cupboard, a fly plate, and poles, forming configurations similar to the dome or tunnel. The following moves are taken in these styles of tent. Please notice that a tent is built after the optimal campsite is identified.
Step 1: Set up tent’s basis
The first move is to lay the footprint of the tent by adding a protective tarp. The tarp creates an obstacle to the ground and the foundation of the shelter. It prevents the tent from moisturizing from below, thus increasing the lifetime of the tent.
The tarp also aims to smooth the floor for added comfort and removes soil, moisture or pollutants from the base of the tent as it is packaged. When the footprint is bigger than the tent ground, make sure that the corners are tucked underneath. The waters obtained by rainfly do not fall below the base of the tent over the plane.
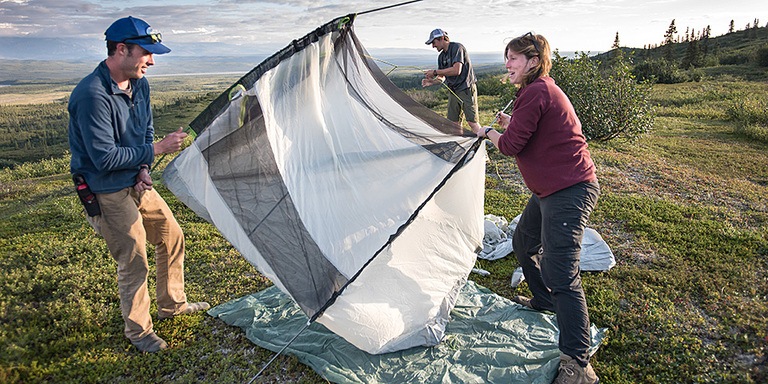
Step 2: Roll Out

Deploy the tent, mark the base of the tent and lie on top of the platform or board, considering the location of the door. When using a bigger one, the door orientation would be particularly important since it will be hard to reposition after it is mounted.
Detach the tent poles and fly and prepare the pins. Maintain the number of tents to be tested before packing.
Step 3: Connecting The Poles
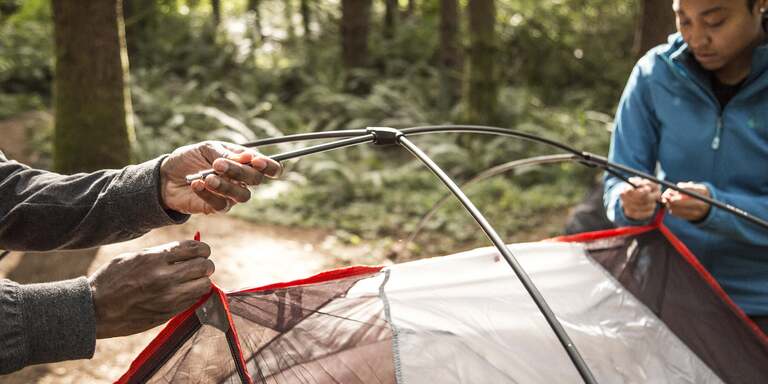
Tent poles are normally connected with a stretched string or bungee in pieces, so that they can easily be folded and stored. Prepare the tent poles and put them over the flat tent. The tent poles are associated. Please refer to the manual or add the appropriate numbers or colours to the poles, otherwise you can easily mark it next time.
The interlinked portions of the tent bars require that they are related by means of a push action rather than a pull action. Pulling the tent poles will disconnect and create more confusion during the tent setup. With most tents it is only enough to shape an X as a structure for two tent poles that cross each other.
Some tents enable you to link to the outside fly before you lock inside. Put the ends of the pylons in the polar attachments in this situation. Fold the pads to conform and clip the inner tent to the paddles on the top and bottom for last .
Some tents have sleeves / flaps instead of clips to attach the poles. Only move the tent poles via the sleeves, then tie the poles at the foundation of the tent. Few tents do have ties on the top of the internal tent to hold the poles secure by a single bow from the top.
Step 4: Staking On The Ground
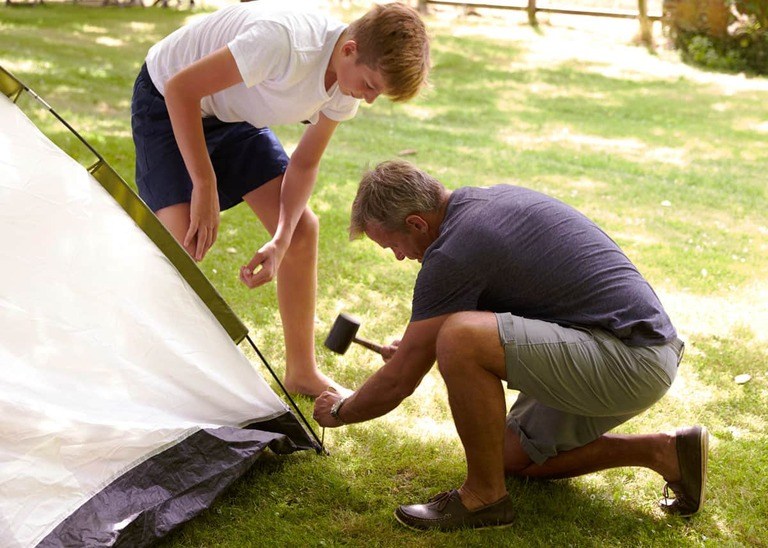
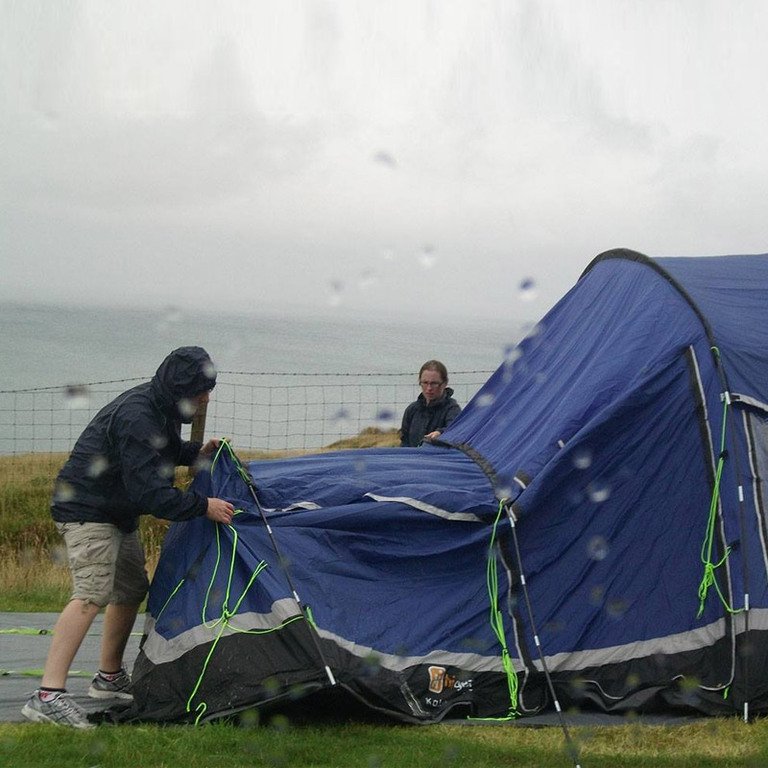
For this spot, if the wind suddenly hits the tents, the tent and everything that is stacked. Beat the tent, make sure the door turns the right way away from the storm. Towards the right way if it isn't just the tent and tarp.
You would bend the pole to lift the tent yourself while gently bend the poles to bring the tent into place in a common tent. You would have to bend the pole.
To tie the four corners of the tent to the ground, use a binding. Push the curves apart to detach slacks before inserting the pins or plugs, adding more friction to the tent. Force the poles deep enough into the ground and bend over from the tent at a 45 percent angle.
When cutting down the stakes and to slide a tie-down rope over them, they should be uncovered enough for quick elimination. A huge rock, brush or hammer may help push the pins to the bottom. A big rock. Still pack additional stakes as a form of caution.
Step 5: Attach The Rainfly
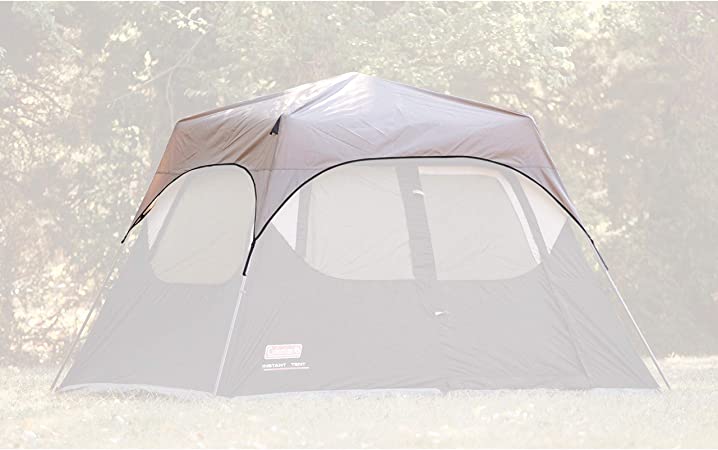
Bring the rain fly over the tent top and connect the fly's door with the tent door. Securing it to the poles, use loops or tabs within the rainfly to insure that the fly doors are locked down.
Install the fly by pulling as far as possible from the inner tent of the bottom loops of the fly. Make sure you keep an equal stress around the fly, so that the inner tent does not move or touch. This makes the ventilation control more efficient and protects the tent from any factors.
Step 6: Secure For Safety
The final move is to secure your shelter to the earth or surrounding forests, rocks or trees. Guylines generate more friction in the camp, providing more tent stability against strong winds. The Guylines also helps to prevent the flight out of the tent so that air conditioning in the camp is improved.
If you have a belt tensioner, the bowline knot can work, or else the hitch of a trucker is sufficient to tighten up the guylines in the tents. Guylines are attached to the side of the tabernacle, from where the wind comes, but the guy-out points are balanced all over the tabernacle to ensure equal stability.
Some Pro Tricks
A fast assembly tent is suitable for easy storage on the campsite. In general, it is ideal to have a compact, lightweight and meteorological tent. Of course, other tents which are more suited to your requirements. Considering factors such as money, total number of occupants, level of personal comfort etc.
Tents include severals like ridge, tunnel, dome , geodesic, and family tents. It is strongly recommended that you practice putting up a tent at home. It will help us learn how to split the parts together and bring the tent into your bag easily and quickly.
The manual for your individual tent type will be available with several manufacturers. Read the guidelines for a more friendly learning curve across the whole process. In addition, the instructions required for the durability of the tent will also be included.
Due to condensation and/or rain while camping, moisture in the tent can grow. That may result in mold and mildew growing so your tent can still dry air in the sun until it is packed up for moisture reduction. You may do this by hanging it on a wardrobe or on any low suspension branches.
Setting up your camp at dawn might seem obvious, but it certainly saves you a headache. Fumbling with headlights at night impacts your vision and can keep you from understanding the characteristics of a good campsite.
Conclusion
Learning how to put up a tent is a worthy skill not only for recreational camping but also for emergency cases. Many experiences and preparation will give you a hand to set up an efficient shelter.


